*Disclosure: This post may contain affiliate links which means if you click through and make a purchase I may earn a commission at no extra cost to you. All posts and products promoted are done so in good faith. Read my full disclaimer here.
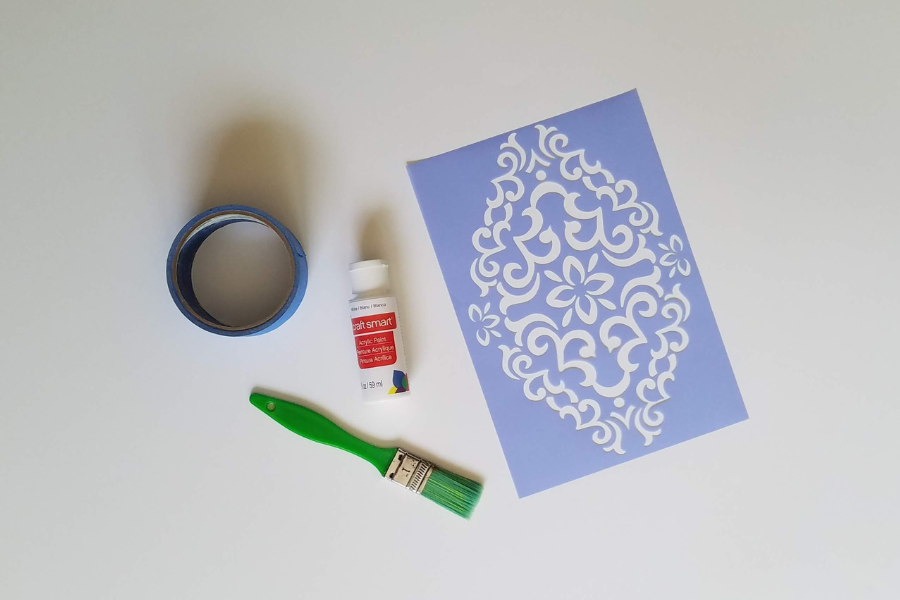
What You Will Need:
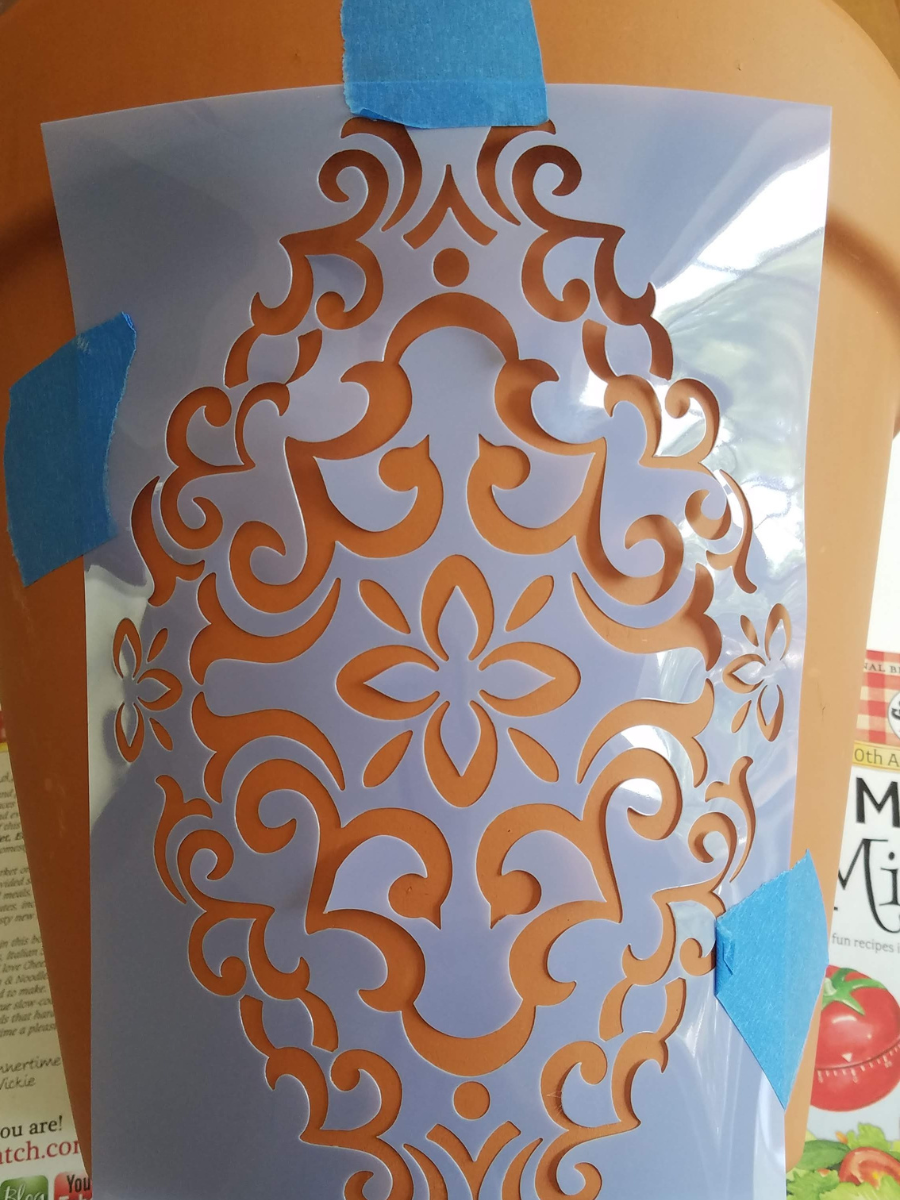
Here's how to make it... Step One Use some blue painter's tape, or another strong tape that is easy enough to remove, to secure the stencil to the terra cotta pot. I put one old book on each side of the pot to keep it from rolling around on me. Step Two Get to painting. I honestly deteste painting with stencils so I just do my best to brush it smoothly over and hold down the stencil in spots where it tends to rise up. I did not care if the paint bled under the stencil in this particular project as you'll see why below.
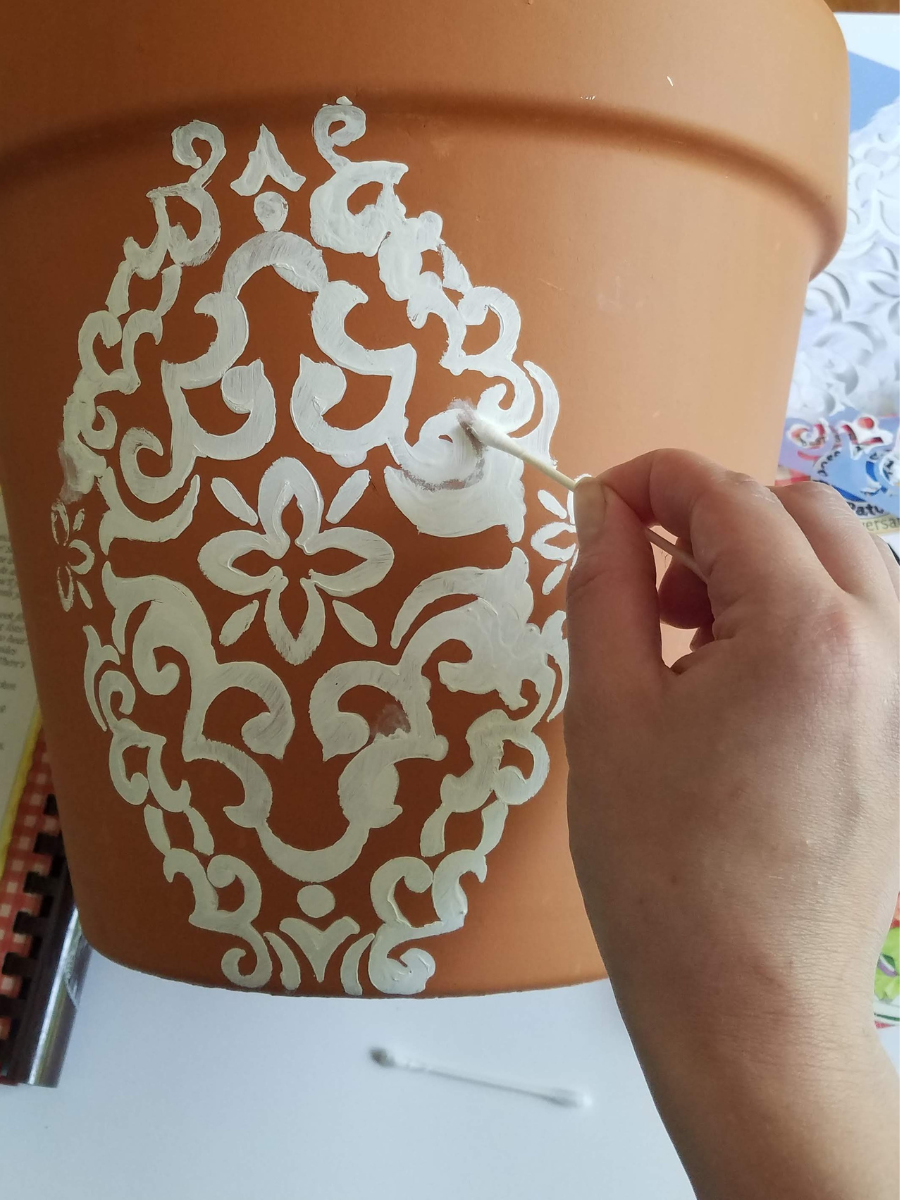
Step 3 For the most part the stencil came out pretty smoothly, but you can see some of the spots where it bled. I used a Q-Tip and a little acetone nail polish remover to remove some of that paint. I was really going for a smeared, white washed look in these spots to play into the naturally lime washed terra cotta look.
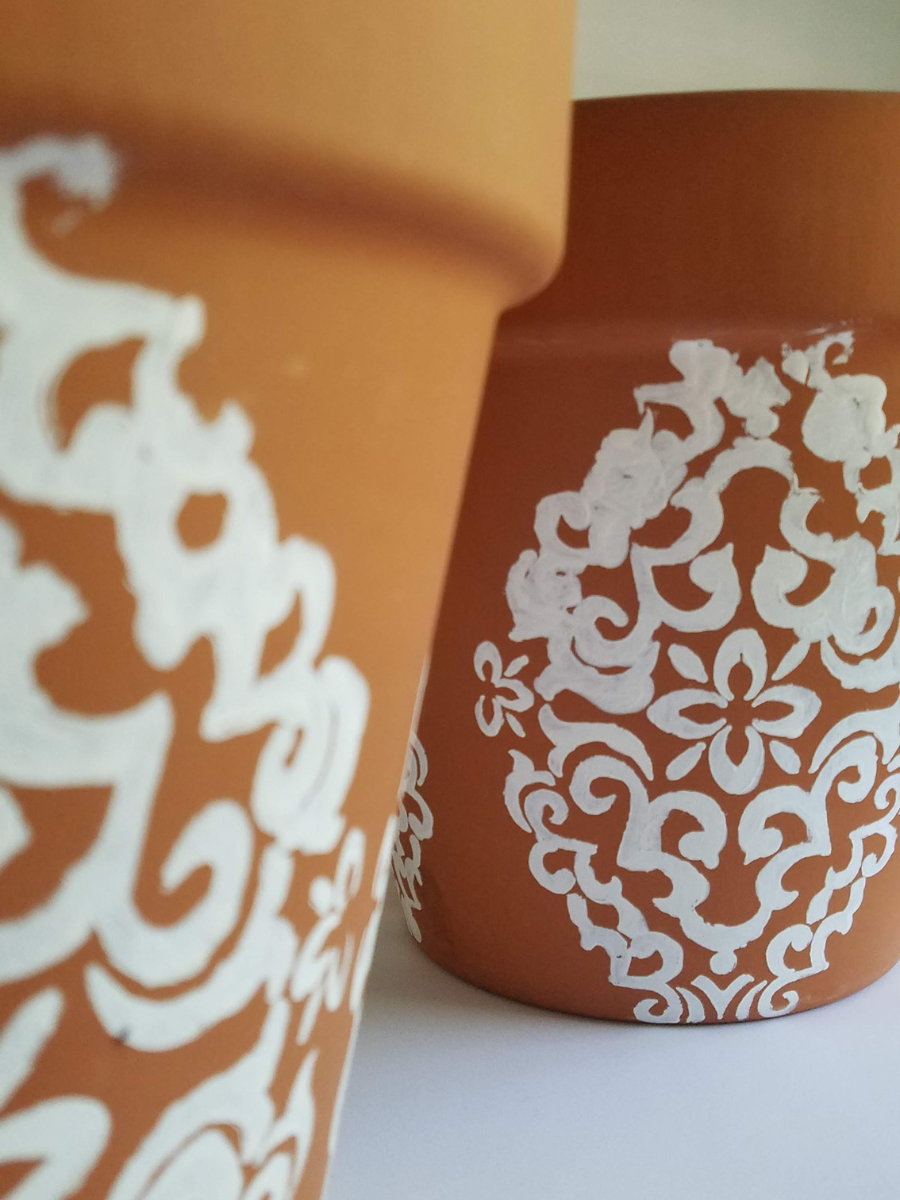
I rotated the stencil four times around the pot to cover the entire base. The one thing I would do differently is use an outdoor acrylic craft paint. I didn't even use a high quality paint, although its holding up well. If I wanted to perfect this project though that's what I would change.
All in All...
I am so happy with the way these pots turned out, so chic! They are a sure way to impress your neighbors and most importantly yourself even though this was such a simple and inexpensive project. On a side note, our roof is orange which I have never liked (we bought our home with a newly installed orange toned roof). When I placed these large terra cotta pots on each side of our garage door it instantly improved the aesthetic to our homes exterior by tying in this orange color.
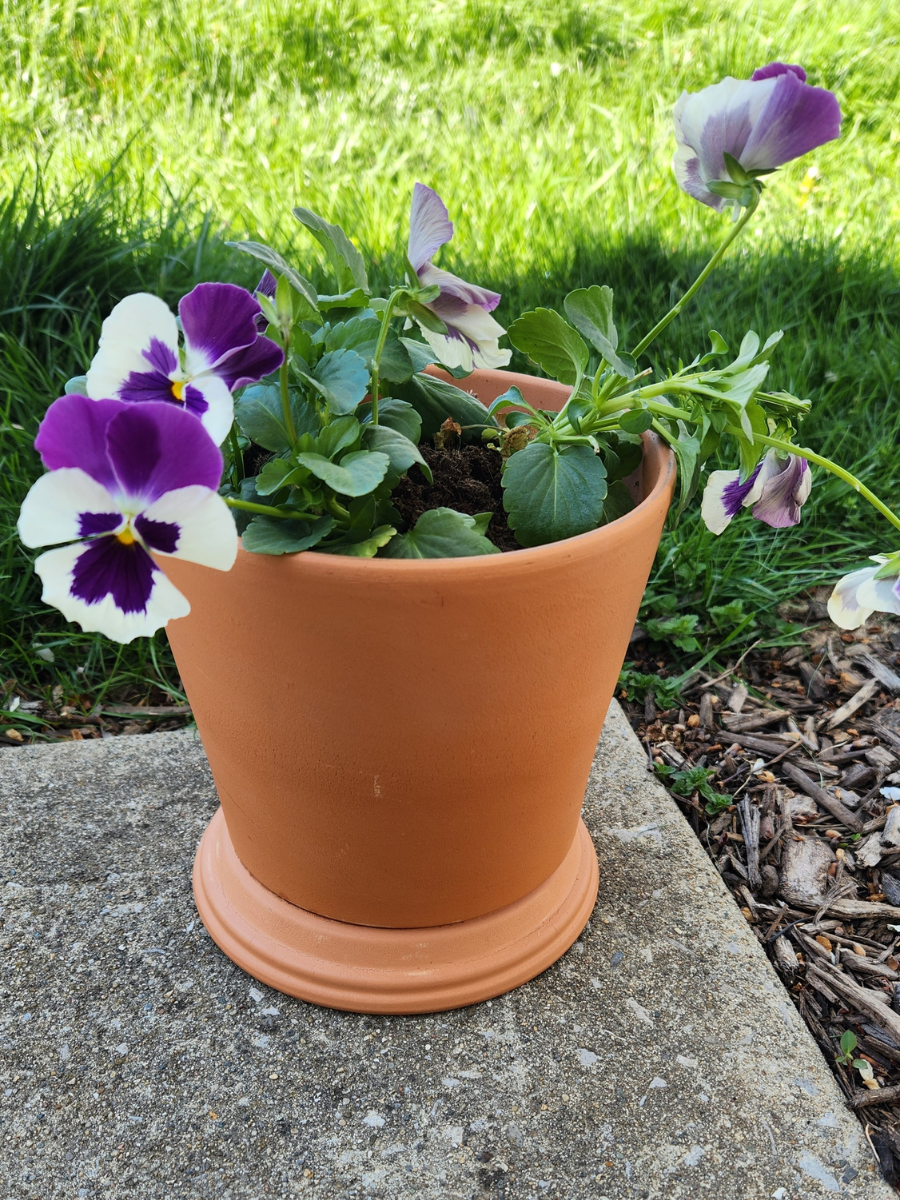
Here's another terra cotta pot that I've turned into a more elegant shape and used to elevate the entryway to our front porch. I simply turned the saucer upside down. You can easily glue it with superglue, but it also works just fine without glue. Check out the quick video tip on my Pinterest!
0 Comments
Leave a Reply. |
Hi there, my name’s Tayler. I’m cultivating a fun and sophisticated life in the Midwest with my hubby and two kids. I love to share comfy, yet classy outfits, charming home decor, and easy tips for living a more beautiful life.
Elevate Your Vibe and Enrich Your Life with my newsletter.
SocialShop
MY AMAZON As an Amazon Associate I earn from qualifying purchases.
On InstagramCategories
All
|


