
*Disclosure: This post may contain affiliate links which means if you click through and make a purchase I may earn a commission at no extra cost to you. All posts and products promoted are done so in good faith. Read my full disclaimer here.
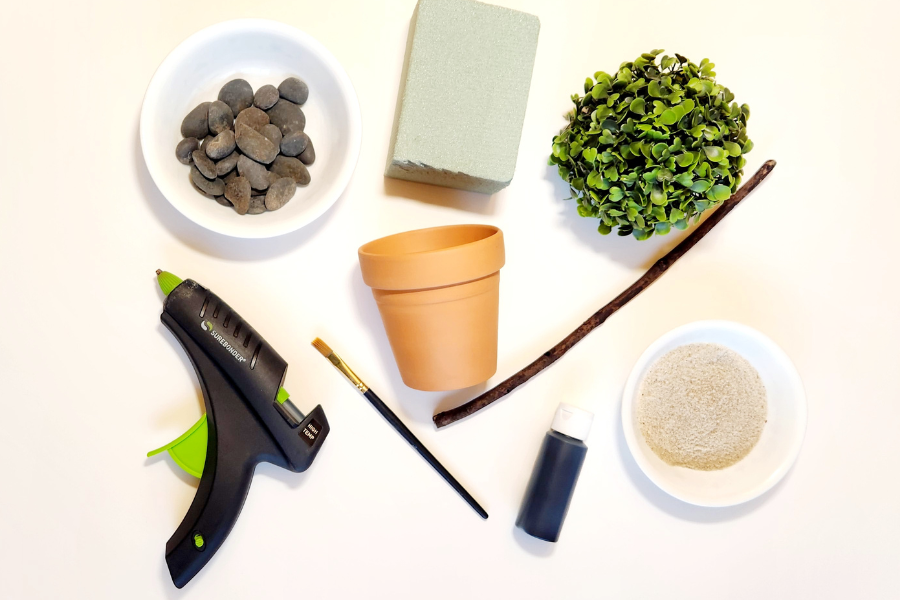
You will need:
Step One I wanted my terra cotta pot to have an aged look so, I started off by mixing a little white craft paint with water and brushed it on all over until I had the desired look. 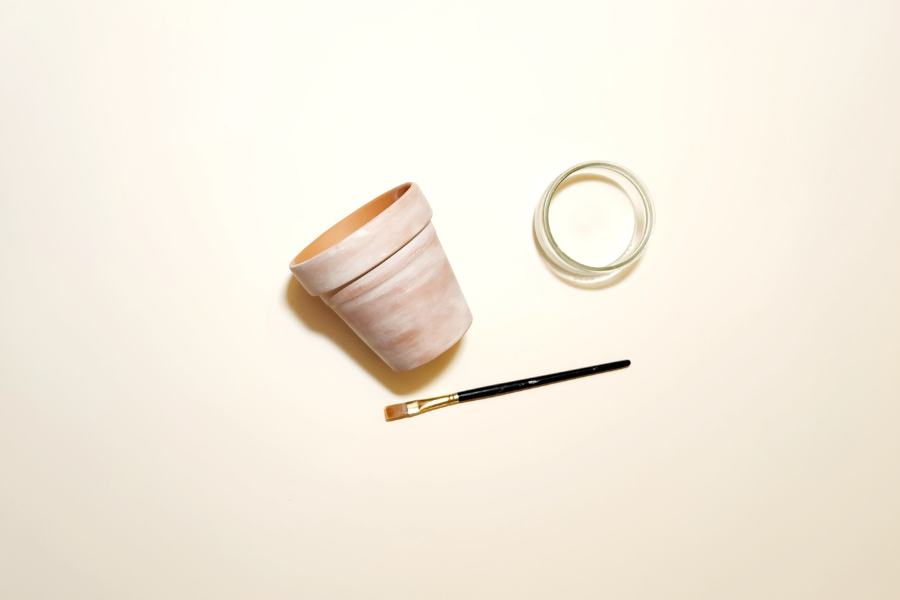
Step 2 Cut the floral foam to a size that fits snugly into the plant pot then use a little bit of hot glue to secure it. Just be careful not to make it too hot as it will melt the foam. 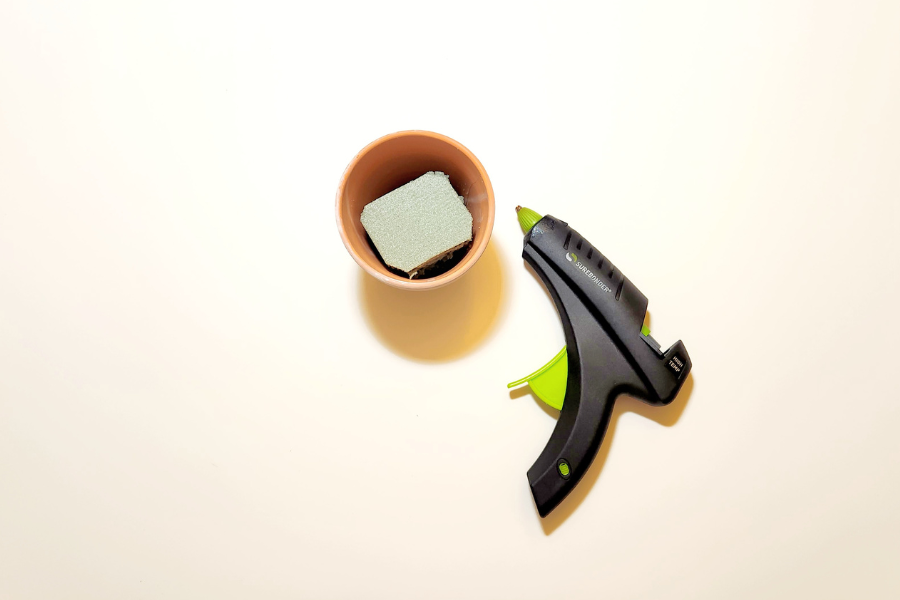
Step 3
Now firmly push the stick into the artificial boxwood ball. Then push the stick into the floral foam, making sure to place it in the center.
Step 4
Squeeze hot glue on top of the floral foam around the stick base then layer your rocks over. 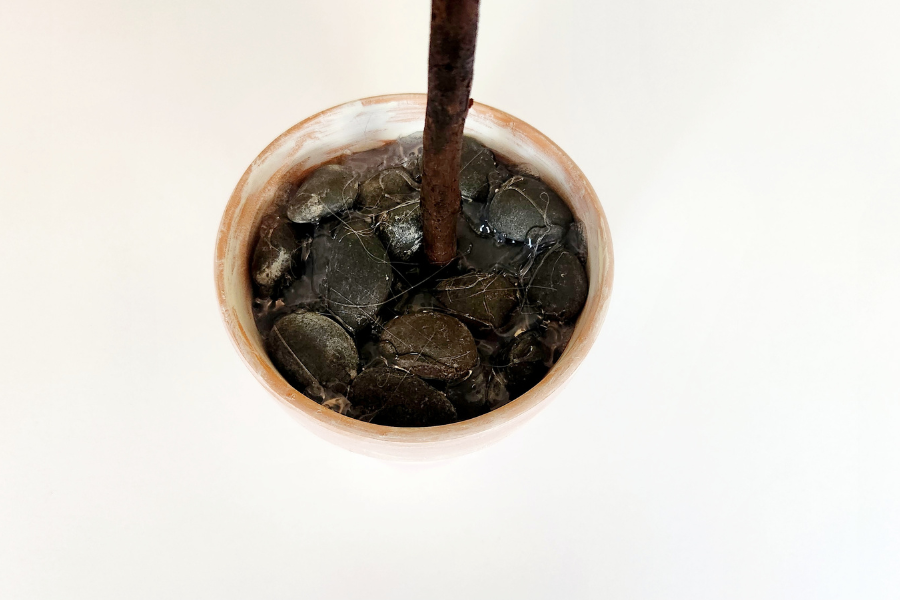
Step 5
It's time to mix up the "dirt". I used a popsicle stick to stir together the sand, Mod Podge, and black paint. I didn't use exact measurements, but it was about equal parts except for the paint which you don't need that much of. I went with a consistency that was goopy, but not too runny. It was able to fall off of the popsicle stick though. 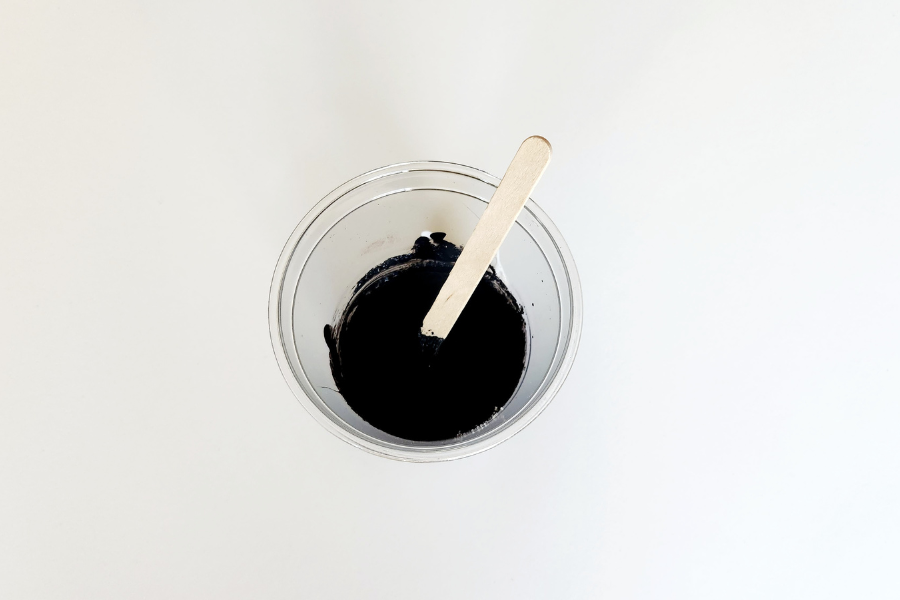
Step 6
Scoop the "dirt" onto the rocks in the plant pot with the popsicle stick. Cover the entire base and let dry for a moment.
Step 7
Use the toothpick to scratch up the dirt a little. This gives it a more realistic look. Waiting for it to dry slightly ensures that it will not smooth back out. Allow the dirt to dry for a day.
Pin for Later!

0 Comments
Leave a Reply. |

Hi there, my name’s Tayler. I’m cultivating a fun and sophisticated life in the Midwest with my hubby and two kids. I love to share comfy, yet classy outfits, charming home decor, and easy tips for living a more beautiful life.

Elevate Your Vibe and Enrich Your Life with my newsletter.
SocialShop
MY AMAZON 
As an Amazon Associate I earn from qualifying purchases.
On Instagram
Categories
All
|

Site powered by Weebly. Managed by Bluehost