
*Disclosure: This post may contain affiliate links which means if you click through and make a purchase I may earn a commission at no extra cost to you. All posts and products promoted are done so in good faith. Read my full disclaimer here.
You will need:
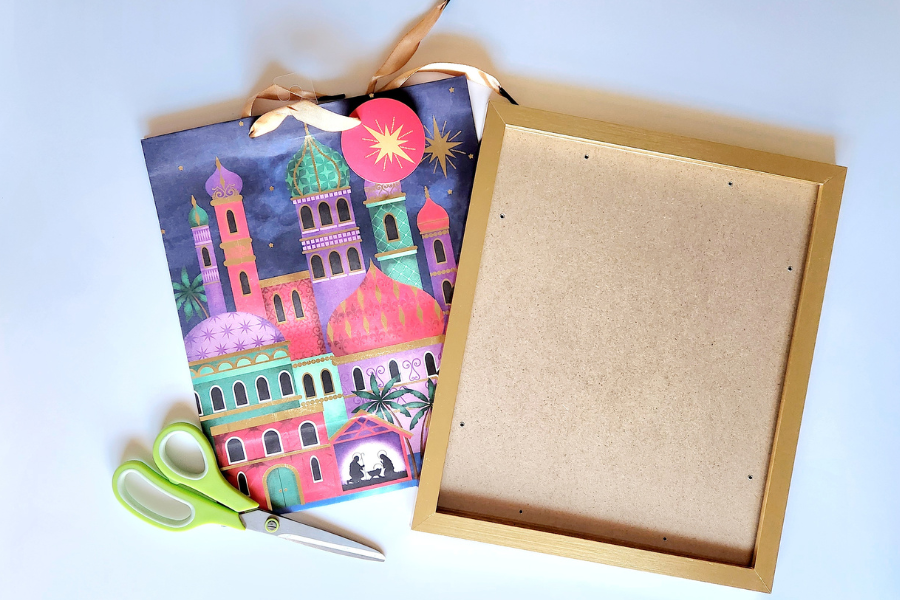
Step One
I cut out the image with scissors and then used my rotary cutter to trim it up to a nice, even size. 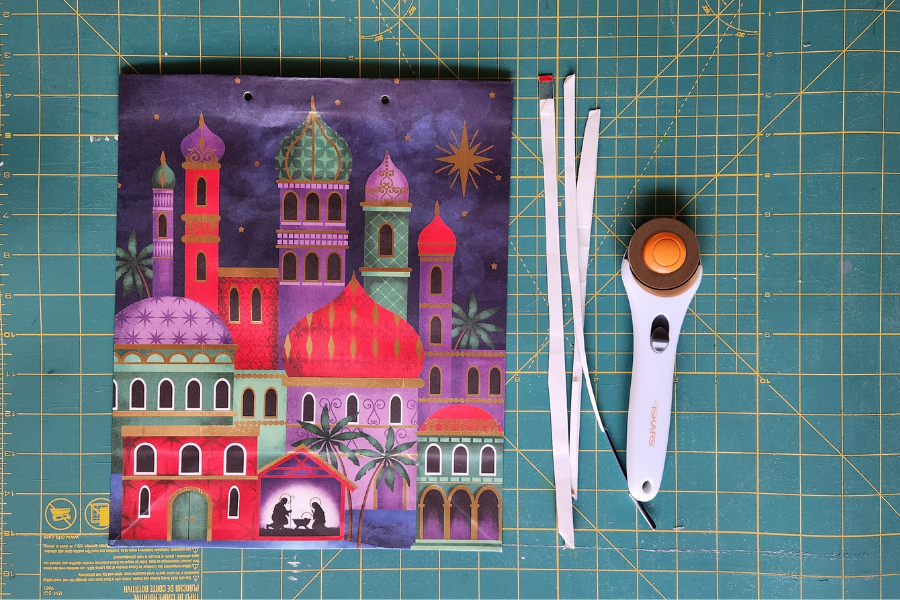
Step Two
I did not want to have to cut off any of the image so that meant I had to leave the holes where the gift bag handles had been. If I could have gotten by I would have trimmed it up to a smaller size. To fix the holes, I glued a small piece of cardstock paper to the back side. I had to fill the hole a little so, I just put a little dab of glue on each hole to make it even with the rest of the bag. In order to disguise where the holes had been, I blended a little navy blue paint over them and around some other areas of the sky.
Step Three
Put it in a frame and you're done! 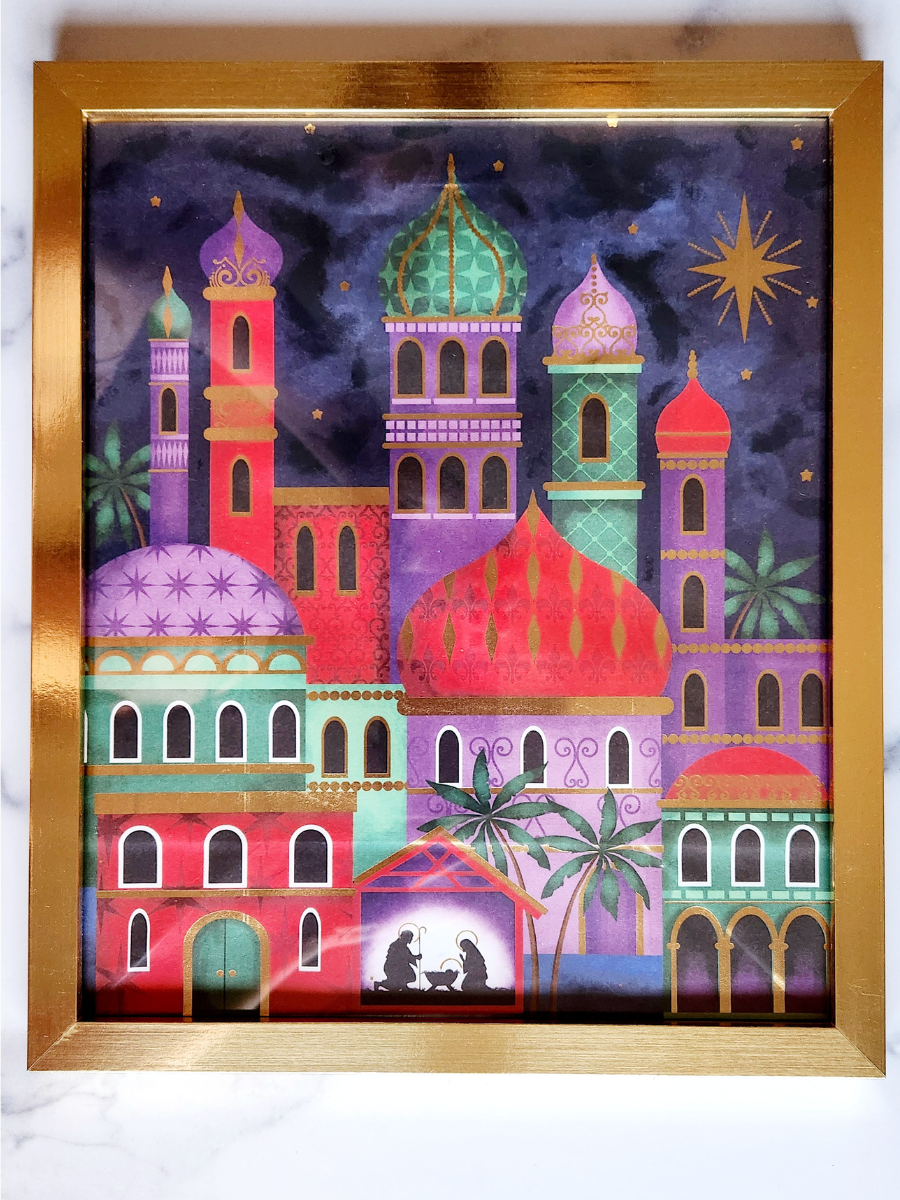
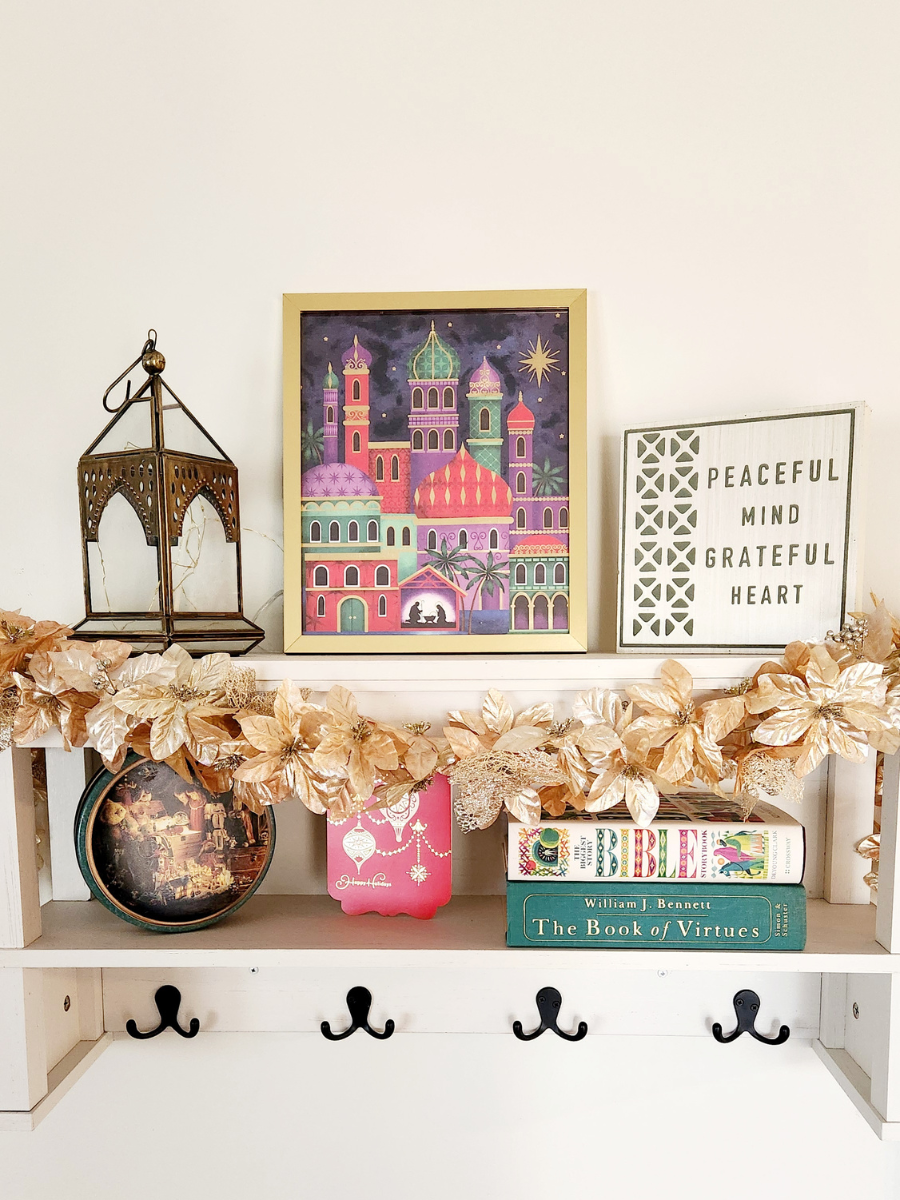
Merry Christmas to you!
Pin for Later!

0 Comments
Leave a Reply. |

Hi there, my name’s Tayler. I’m cultivating a fun and sophisticated life in the Midwest with my hubby and two kids. I love to share comfy, yet classy outfits, charming home decor, and easy tips for living a more beautiful life.
Elevate Your Vibe and Enrich Your Life with my newsletter.
SocialShop
MY AMAZON 
As an Amazon Associate I earn from qualifying purchases.
On Instagram
Categories
All
|

Site powered by Weebly. Managed by Bluehost