
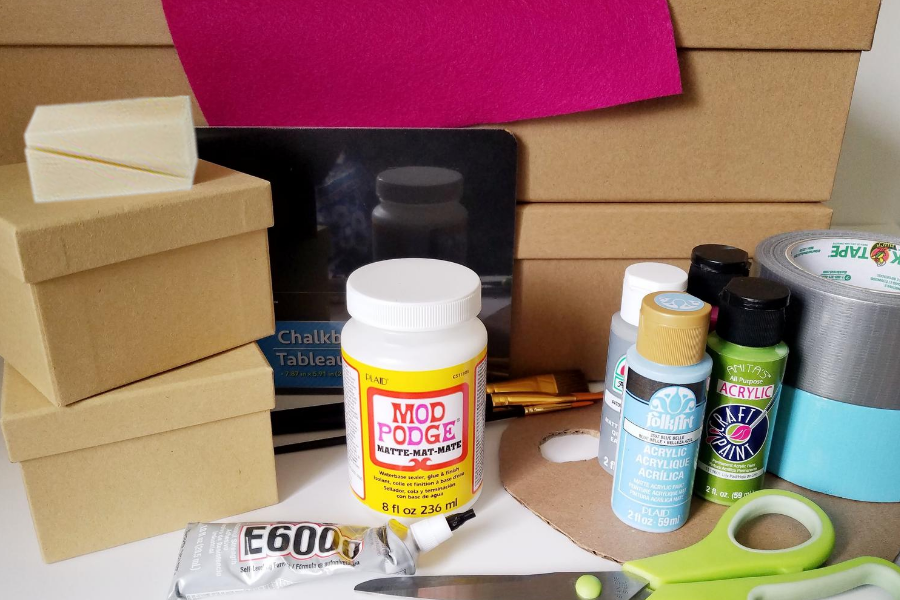
*Disclosure: This post may contain affiliate links which means if you click through and make a purchase I may earn a commission at no extra cost to you. All posts and products promoted are done so in good faith. Read my full disclaimer here. You will need:
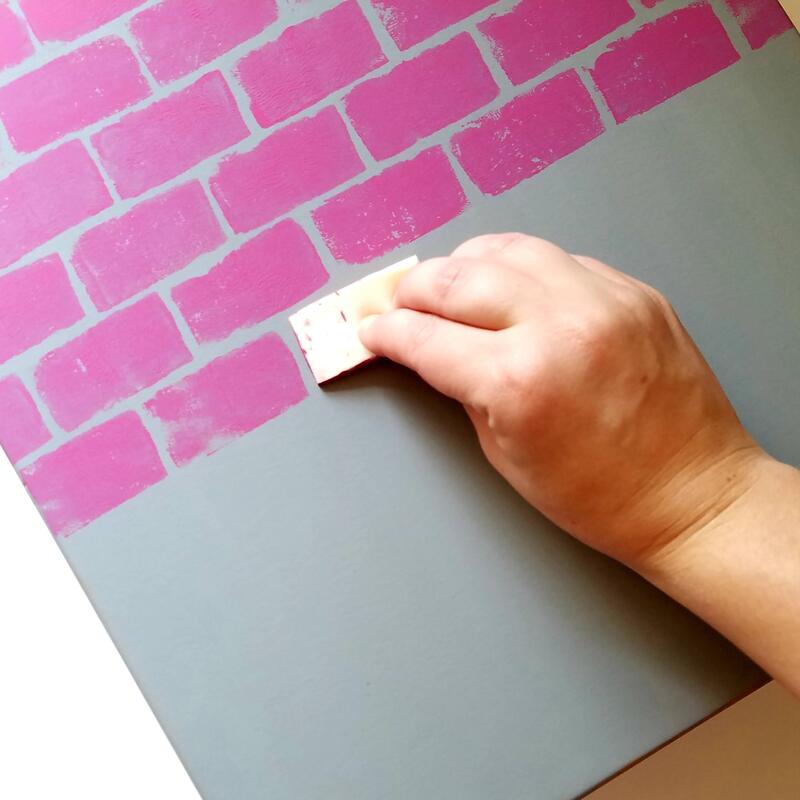
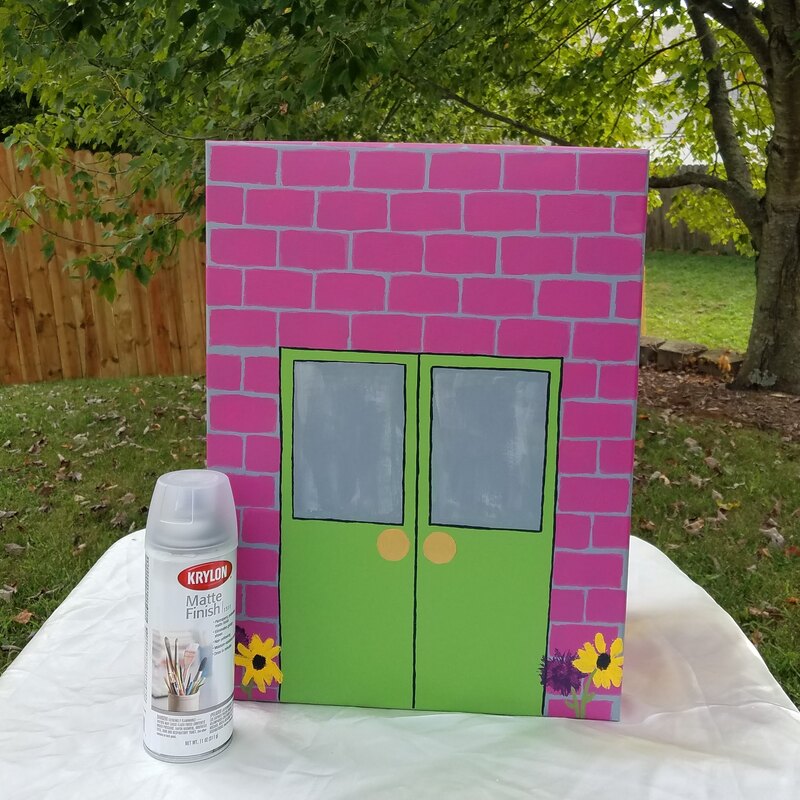
 Here's how to make it... Step 1 Paint the inside of both boxes. Tip: Save the boxes' lids for other craft projects. They make a great panel for wall art. 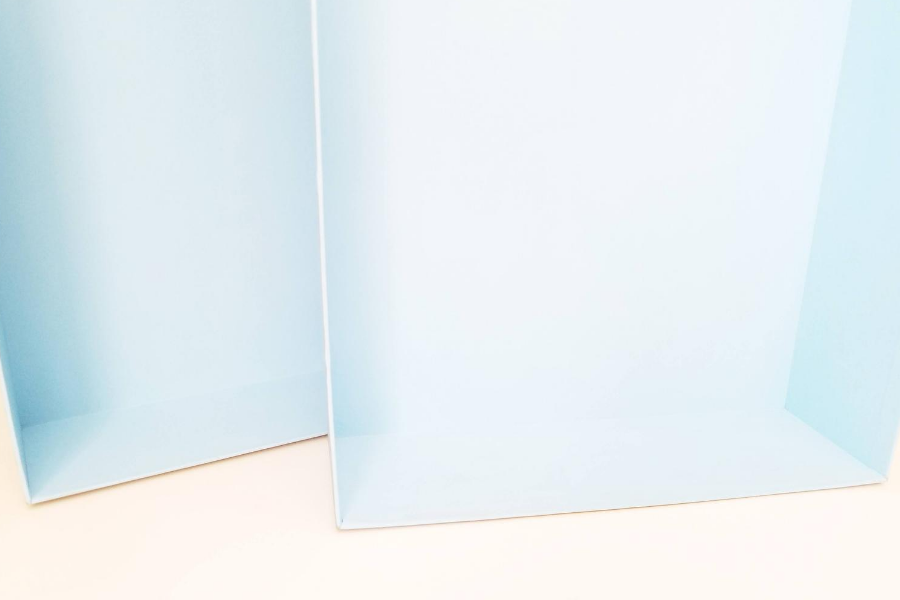 Step 2 Paint the outside of both boxes. Tip: Decide which edge will be the bottom on each piece and mark it. One edge was flatter for me and therefore made a better bottom because it wasn't wobbly. I did not bother painting the bottoms. 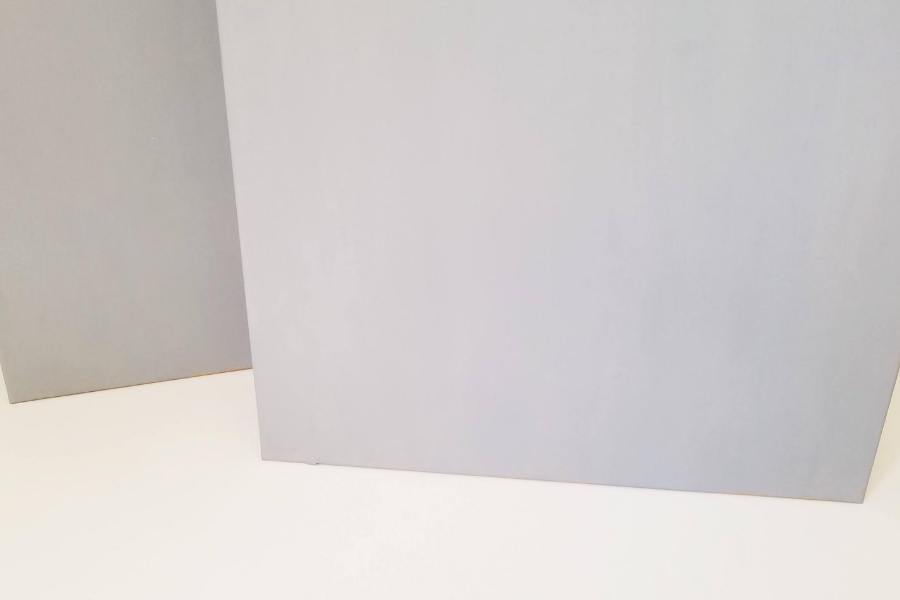 Step 3 Tape the insides together. To do this, start by laying the boxes down next to one another to clearly see how they will be hinged together. Cut a strip of Duck Tape about an inch longer than the boxes. You do not need excess tape at the top. Carefully apply half of it, length wise, to the inside edge of one box. Then carefully pull the rest of the Duck tape over onto the other box, making sure to get a nice, tight application. Use your sharp knife to cut off the excess tape at the bottom. 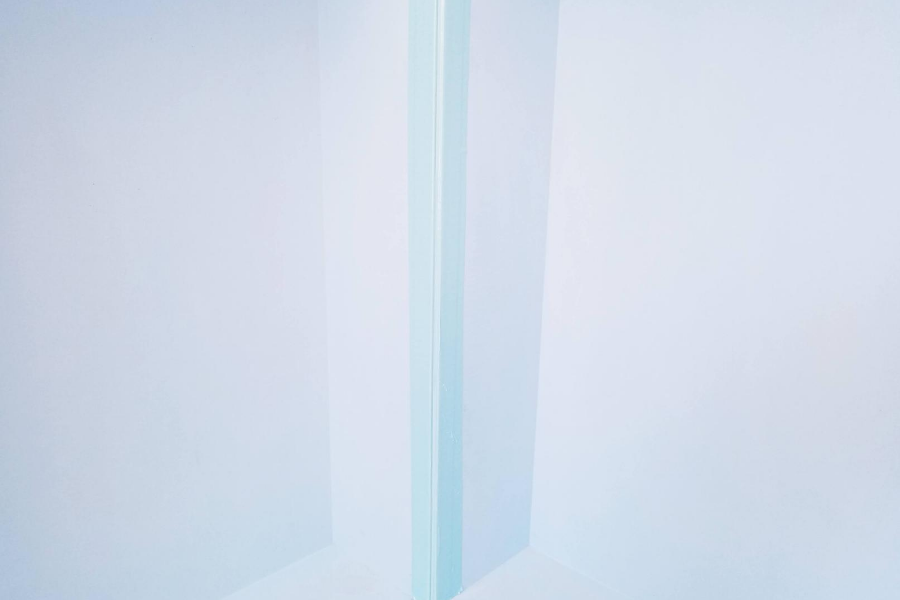 Step 4 Repeat step three on the outside of the boxes with them closed up. Tip: To make the outside nice and strong I first put a piece down the middle and then layered a piece to the left and then another piece to the right.  Step 5 Use a makeup wedge sponge to paint on a brick pattern. Perhaps you would prefer to use wrapping paper or decorative paper and Modge Podge to decorate the box. The sky is the limit!
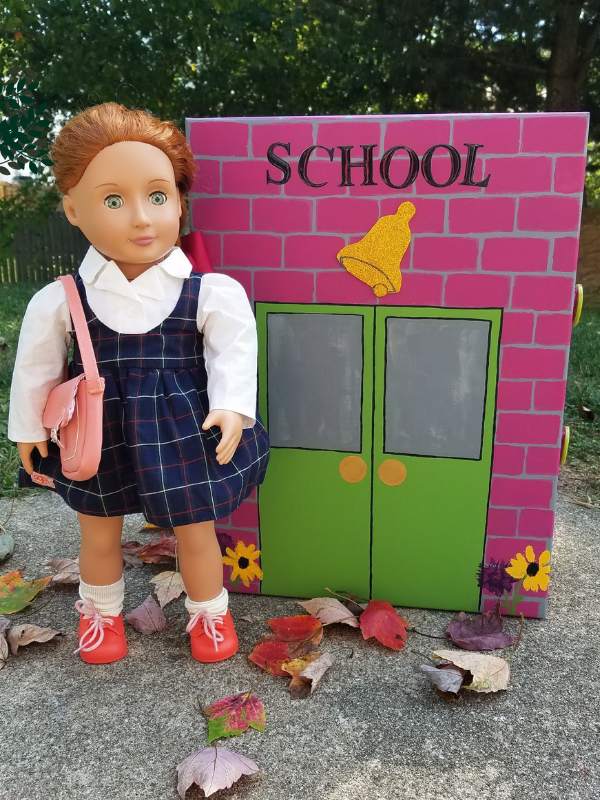
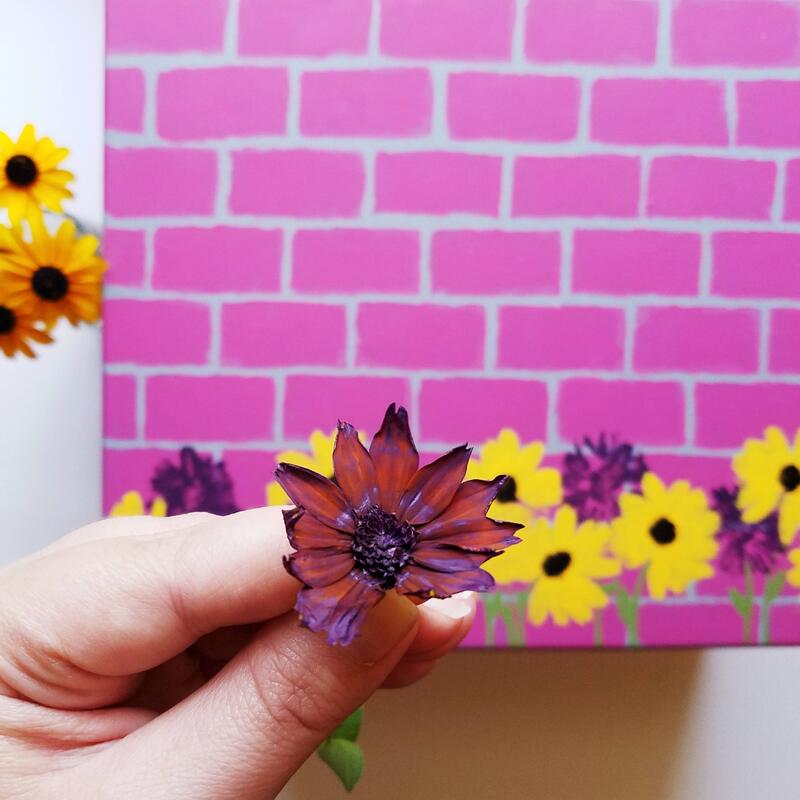
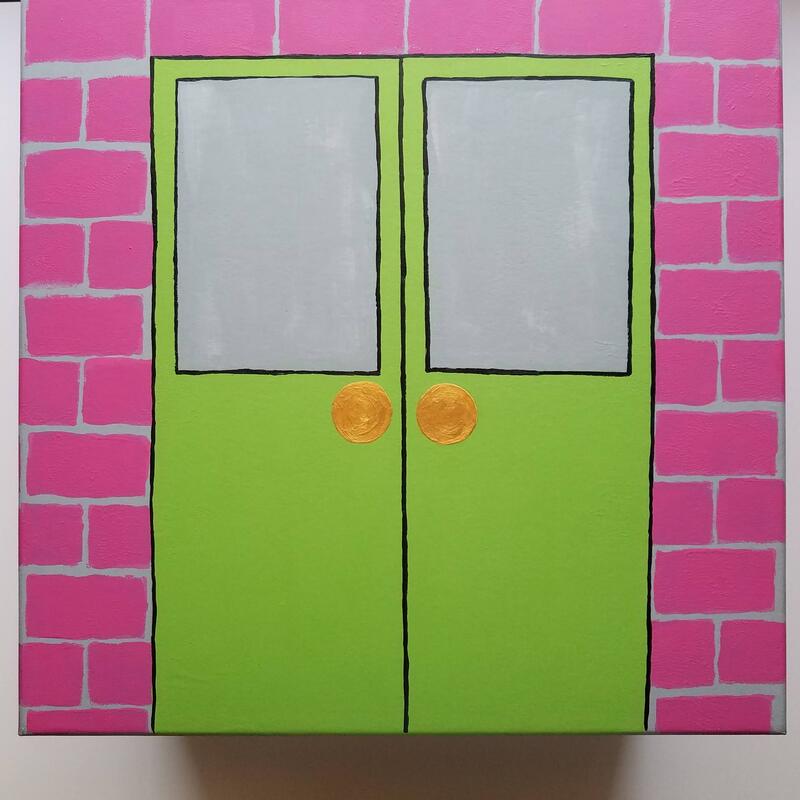
Step 6 Draw the doors with a pencil then paint them on. Step 7 I used real Black Eyed Susan flowers from our home to stamp on some flowers around all of the sides. I hand painted on the stems and leaves. Step 8 Spray paint the outside of the boxes to seal each side. I did about four good, even layers. I had intended to use a clear glossy coat, but the store was out so, I could only get a clear matte. I took that as God's way of telling me matte was best and it worked well for me. I did not spray paint the bottom sides. Instead, I painted on two layers of Mod Podge to seal the bottoms. Step 9 Cut two 2 inch long pieces of Velcro. The Velcro I used was a little under 1 inch in width. Use hot glue to apply the bottom piece of Velcro to the left box. 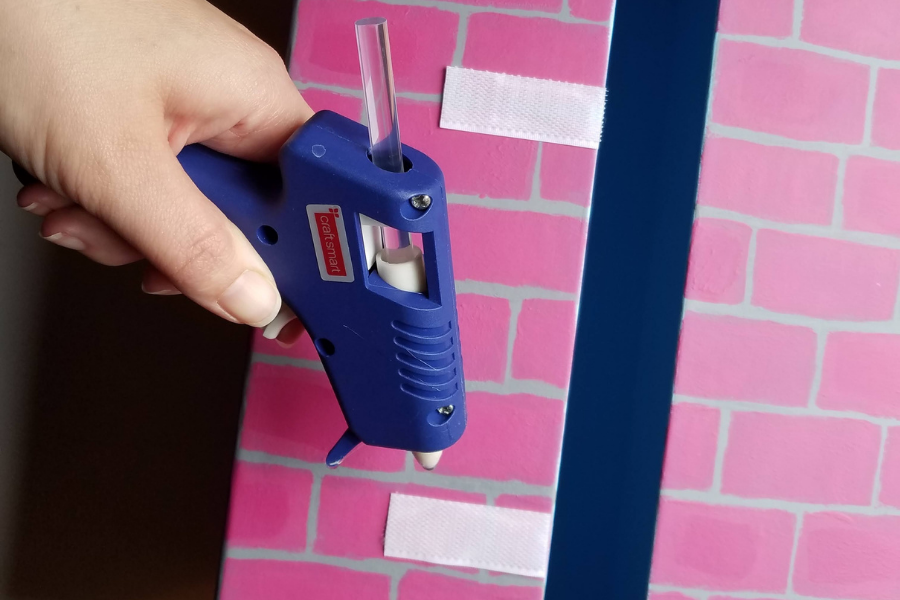 Step 10 Cut two 1 inch x 4 inch pieces of felt. Attach the top piece of Velcro to the bottom piece of Velcro and then hot glue it to a piece of felt. Close the boxes together and apply hot glue to the other side of felt. Press it down onto the opposite box to create your closure. Repeat so that you have two closures. I use Super Glue Gel to apply a button on each of our closures for extra cuteness. 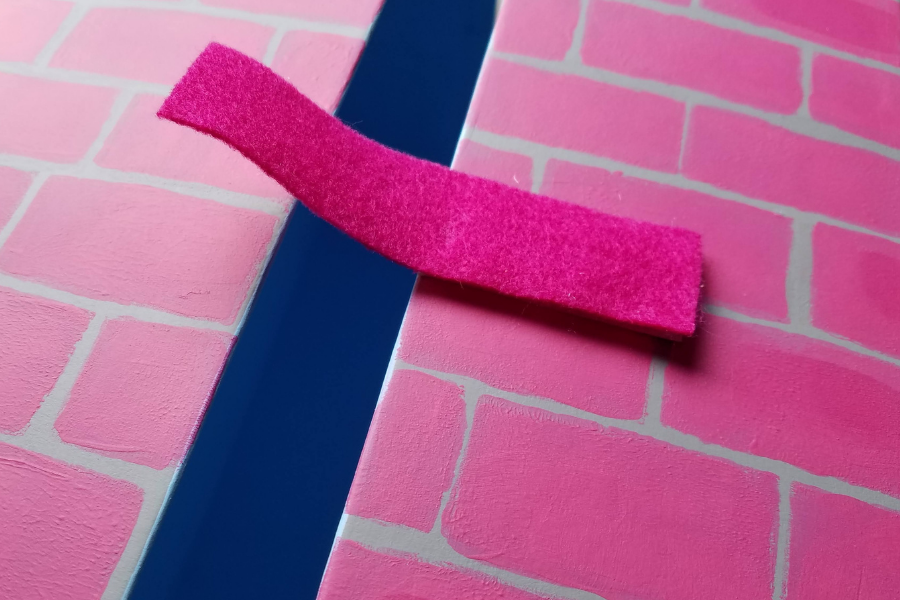 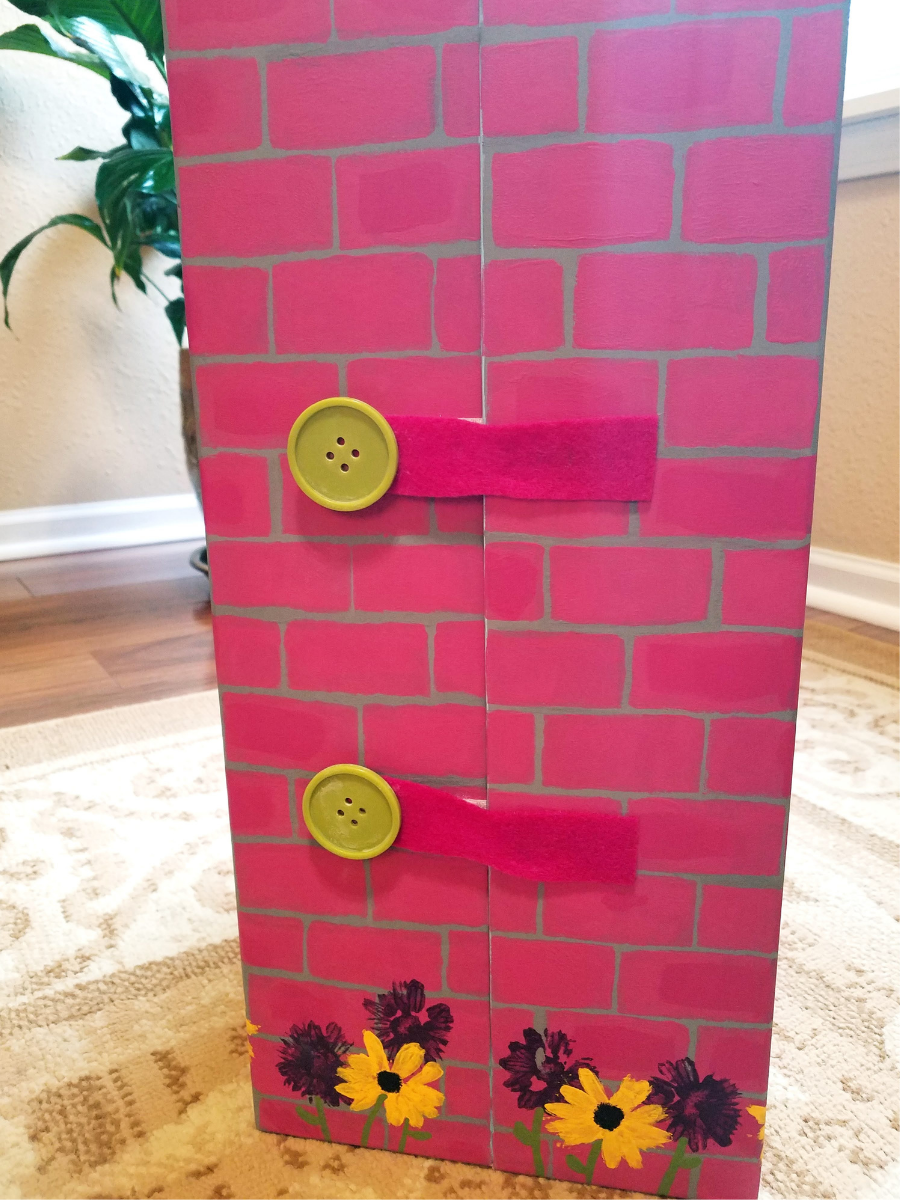 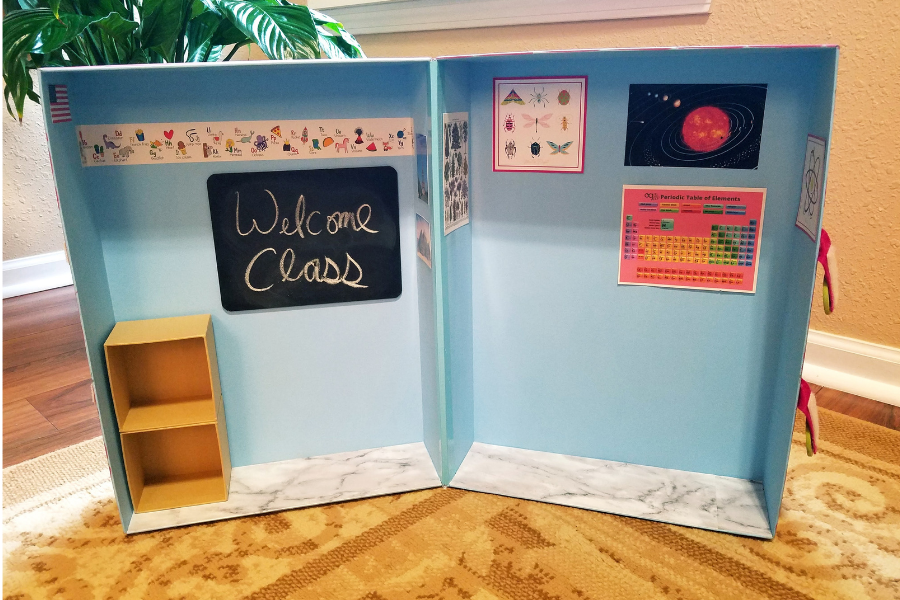 I used marble printed scrapbook paper and Mod Podge to create the floor. The chalkboard was glued down with Super Glue Gel. I glued the two small boxes together to make a bookshelf, then I glued it down to the floor with hot glue. On the front of the box I used alphabet stickers and Mod Podge to label it School. I also used Mod Podge to apply the glitter foam bell.
I picked up the adorable alphabet washi tape at Target this back to school season. The vintage tree illustration I found over at The Navage Patch. I highly recommend heading over there to check out their printables gallery. It's full of sensational free art for your home. Works well for dolls too! The periodic table came with the Our Generation chemistry set. You can download the others at the bottom of the post. I made the clock myself out of a watercolor wheel I had made for a previous project. The Dollar Tree also sells learning clocks that would be great for a doll school.  This chemistry cart by Our Generation was the entire inspiration for this school box. After my daughter's birthday she asked to go shopping for her doll, Abigail, and adored this chemistry set (mostly because of Mr. Skelly there). I didn't want to just throw it all in the typical plastic storage container and I definitely didn't want it scattered on the floor. My creative brain quickly started coming up with fun ways to incorporate even more learning. Of course we had to have a globe. My daughter loves finding places on her globe and I knew she would be thrilled for her doll to have one too. I found this perfect pink globe at Hobby Lobby. 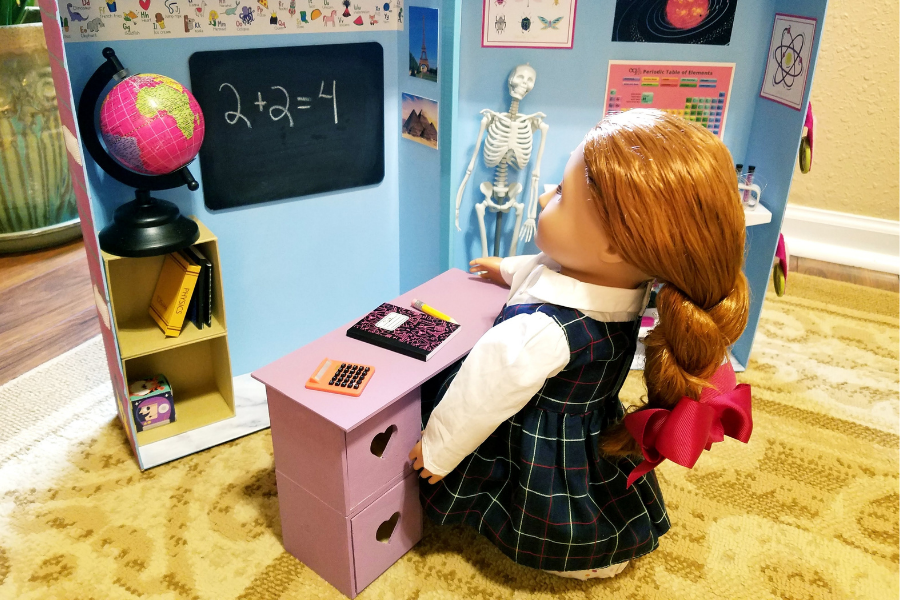 Take a seat at your desk. Its time to solve some math problems. 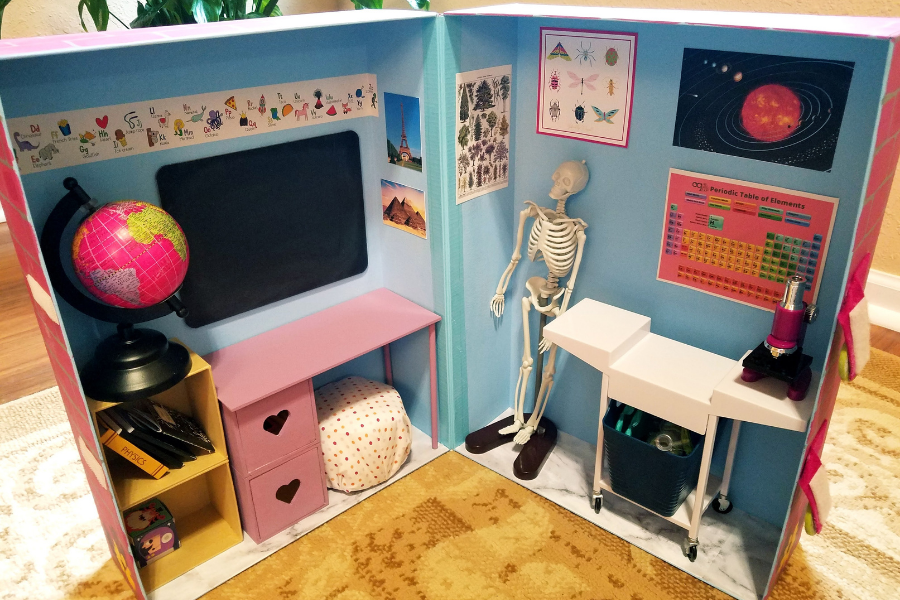 3:00, time to pack up! Can you believe all of these neat toys store so easily and perfectly in this fold and go box? The possibilities are endless with this easy to make box. I am already dreaming up a garden shed/ playhouse inspired by the Wellie Wishers. Download & Print Doll School Posters Have fun! You Might Also Enjoy
0 Comments
Leave a Reply. |

Hi there, my name’s Tayler. I’m cultivating a fun and sophisticated life in the Midwest with my hubby and two kids. I love to share comfy, yet classy outfits, charming home decor, and easy tips for living a more beautiful life.
Elevate Your Vibe and Enrich Your Life with my newsletter.
SocialShop
MY AMAZON 
As an Amazon Associate I earn from qualifying purchases.
On Instagram
Categories
All
|


Site powered by Weebly. Managed by Bluehost